Clipper Over Comb Technique: A Step-by-Step Guide for Barbers
In this concise clipper-over comb tutorial, I'll walk you through the essentials of this classic barbering technique.
With just your clipper and a clipper comb in hand, you're all set to master the skill that’s a staple in creating crisp, clean haircuts.
Let's get started!
Clipper Over Comb: Step-by-Step Guide [VIDEO]
Step 1: Holding the Comb & Basic Technique
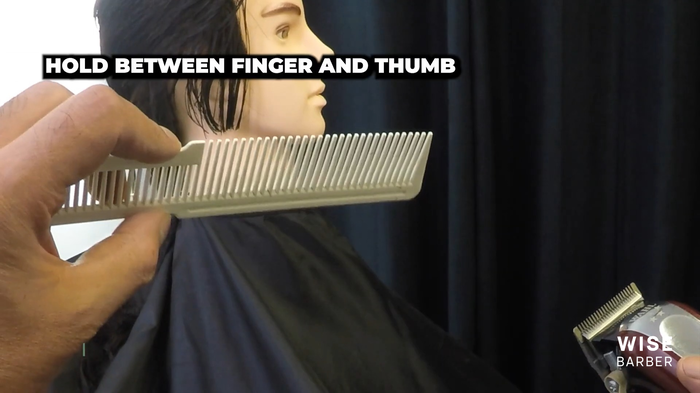
To start off, I grip the comb between my thumb and finger, allowing it to twist effortlessly. This grip is pivotal because the real action happens at the comb's spine.
Here's what I do:
I slide the comb into the hair and then tilt it outwards at a 45-degree angle toward myself. This initial technique lays the groundwork for the entire cut.
Step 2: Direction & Angling
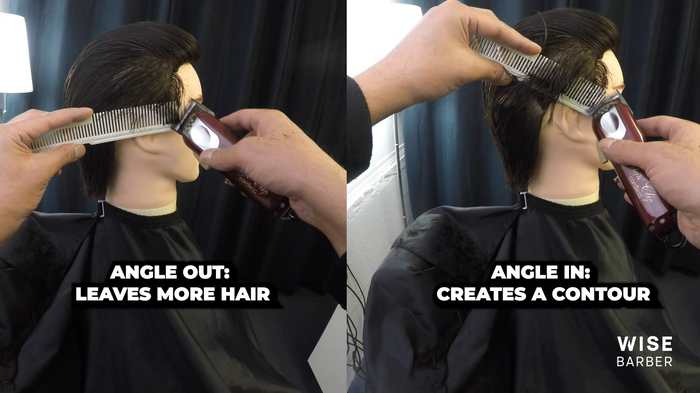
As I work, I keep in mind that the direction of the comb guides the hair. I can flip the comb to craft a blunt line or angle it to dictate the length.
By angling the comb away from the head, I leave more hair; angling it towards the head creates a closer cut. It's all about the angles—this is what shapes the haircut.
Step 3: Importance of Proper Hold
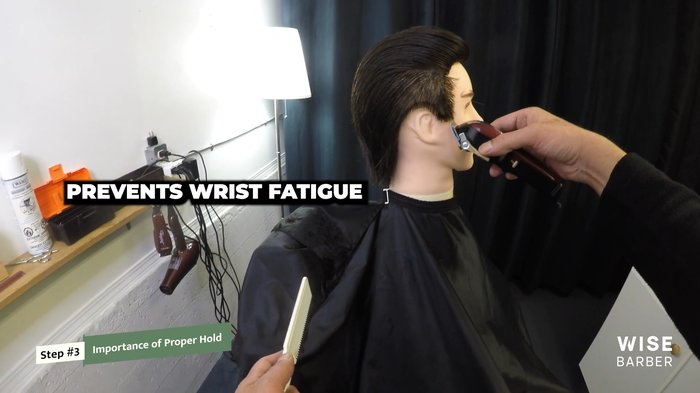
Maintaining that comb hold is crucial, not just for precision but also to avoid wrist fatigue. I won't lie, it felt awkward at first, but it gets more comfortable with practice.
Getting this right is essential because it allows for greater control, especially when resetting the hair's direction. It's an old-school trick, but it's gold for managing short to medium lengths effectively.
Step 4: Efficiency & Control
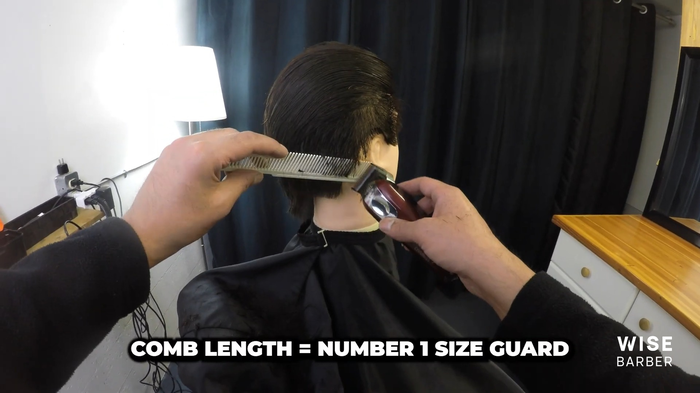
I use the shorter hair as a guide, blending it to the opposite side, ensuring uniformity. This method is a staple in my kit—it's about efficiency.
In a busy barbershop, this technique keeps me swift without sacrificing quality. I'm always cutting at the spine of the comb, and I never forget to comb through the hair periodically to keep it neat.
Step 5: Application & Tips
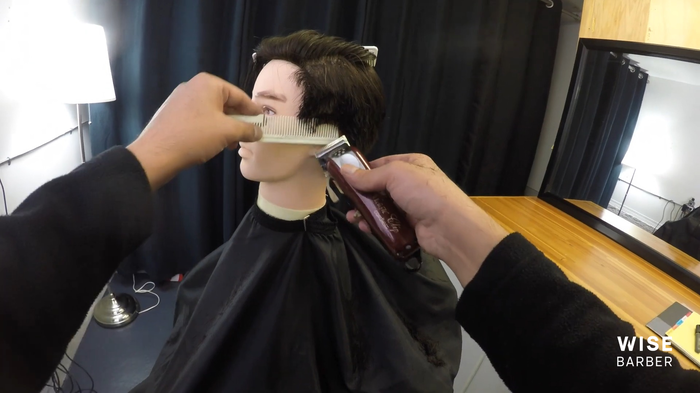
When shaping around the head, the contrast between long and short hair becomes my roadmap. To wrap up, I outline the hairline with my clippers, keeping them open to avoid going too short.
For beginners, I suggest using a guard—like a 0.5, 1, or 1.5—as insurance against accidental scalping. This gives you a safety net and a boost of confidence.
My Tips & Tricks
Here's a quick roundup of my personal tips and tricks to master the clipper over comb technique:
- Start Safe: Begin with the clipper lever open for a safety margin—like 'clipper insurance'.
- Guard Up: Attach a guard (no. 1, 1.5, or 2) to prevent going too short if you slip.
- Extra Hands: Use a second comb to manage stray hairs when creating clean lines around the hairline.
- Rhythm Over Speed: Maintain a consistent pace, working with hair growth and using short hair as a guide.
I hope my walkthrough sheds light on the nuanced art of clipper over comb. It's a game-changer for me, and I believe it can be for you too.
If you've got any questions or want to share your journey mastering this technique, let's start a conversation below. Your feedback is the compass that guides my content—so comment away, and let's elevate our craft together!
More from Sunny Kambo

How Often Should You Go to the Barber? Expert Advice & Tips

Ever wondered how often you should be visiting the barber? Well, you're not alone. It's a question that's crossed the…

Building Barber Clientele: A Comprehensive Guide for Success

In the challenging world of barbering, it's not just about mastering the latest trends and techniques. The real game…


Comments