Scissors Over Comb Technique: Step-by-Step Tutorial

Hold tight:
Over two decades in the barbering world, the scissors-over-comb technique has been my trusty sidekick. It's the secret sauce behind many of the flawless cuts I've delivered. The truth is, it's not just me. This technique is revered among elite barbers globally.
Now, why am I sharing this?
Because mastering this method can change your game. So, buckle up. I’m about to unveil the magic behind the scissors-over-comb technique, peppered with my personal hacks.
Ready to dive deep with me? Let's get started!
Tools and Hair Prep
Ready to begin?
Before you attempt this technique, lay your tools out and prime the hair. Trust me; having the appropriate tools and convenient working conditions will make your job much easier.
Here's what you'll need:
- Brightly-lit Workspace: Ensure your workspace is properly illuminated. You can use additional task light setups if necessary.
- Pre-washed Hair: You should always start with pre-washed hair and then proceed to wet it with some water. Keeping the hair about 70% saturated is crucial for precision.
- Haircutting Shears: I used seven-inch shears for this demonstration because I will remove bulk. However, a pair of five-inch shears can be similarly effective.
- Hair Comb: A professional-grade, durable hair comb will do the job.

Step-by-Step Guide for the Scissors Over Comb Barbering Technique
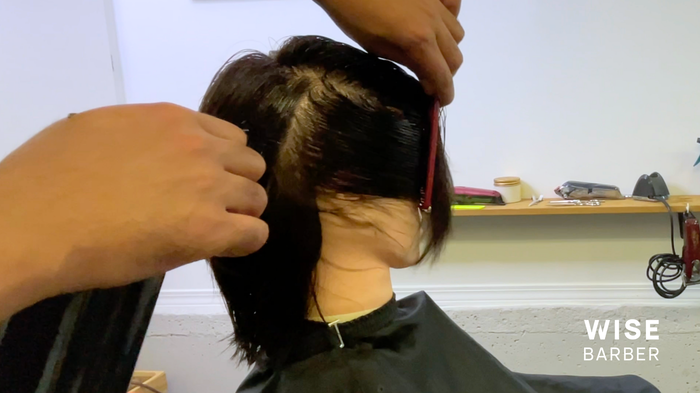
1. Sectioning the Hair
Let's dive in:
Part your now detangled hair into small sections. My years at the business taught me this:
Start by creating top and bottom sections, then section the sides away from the back. Feel free to clip away the hair you're not working on to keep it out of the way. This makes the process smoother.
2. Choosing the Right Shears
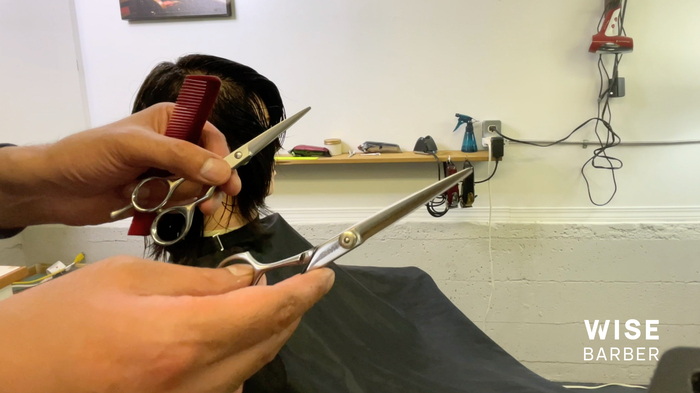
Here’s the thing:
Your shears can make or break your haircut.
For bulk hair removal? I swear by the 7-inch cutting shears. They've never let me down. However, when detail calls, my go-to is the 5-inch pair. These beauties are perfect for those nitty-gritty cuts around the scalp.
3. Starting the Cutting Process
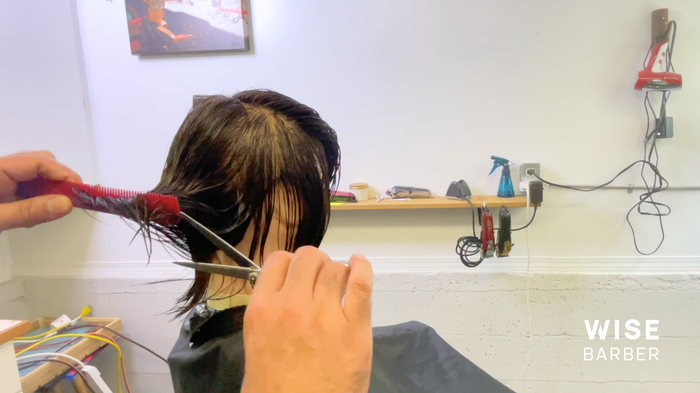
Alright:
Grab a hair section and slide your shears just so. Place your comb near the scalp, guiding it until you've sized up your desired length.
For this demo? I'm parting with an inch.
My golden rule:
Always use a snippet of the last cut as a guide for the next. It's my secret to consistency. Starting right, gliding to the center, and then swinging left has always served me well.
4. Merging Hair Sections
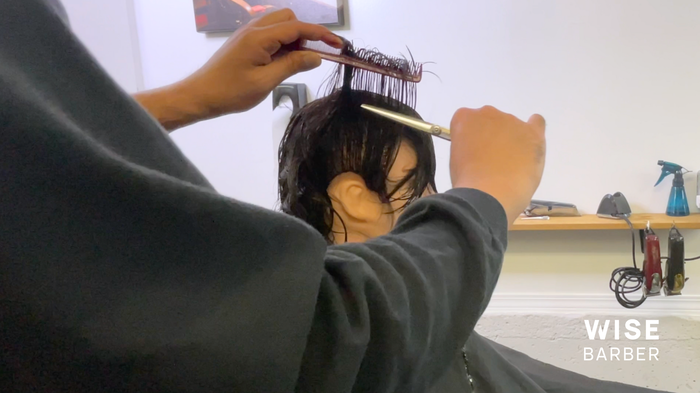
Now:
It's time to blend and connect the back of the hair to the sides.
Because I'm going for a square-shaped masculine style, my trick is to keep the comb 90 degrees parallel to the head.
Next:
After blending the sides to the back, you must connect the sides to the top of the head. I typically start from the right and meticulously work my way to the middle.
Don't forget your guide!
Refer to a section of hair from the top right as a guide while merging with the middle. From the middle, cut evenly until you get to the back again.
Finally:
Make sure you trim the bangs precisely. I like to layer them slightly from the front so they look perfect.
5. Drying and Styling the Hair
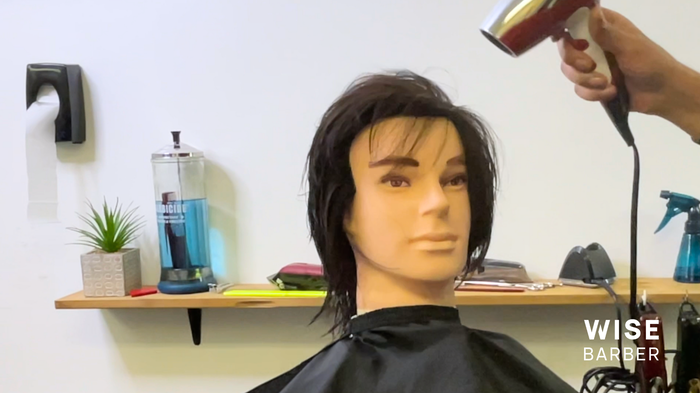
Once you've nailed the cut, it's blow-drying time. Cement that look in.
Now, a parting thought on style:
Desire a sleek, polished vibe? Go for the hair wax. But if rugged and textured is your anthem, hair clay's your best mate.
Remember, it's all about what feels right for you!
My Tips and Tricks
- Always maintain a consistent guide by using sections of previously cut hair.
- Utilize clean, sharp, and sterilized scissors for neat, precise cuts.
- Consider the hair type and texture when cutting and adjust to their distinct requirements.
- Cut gradually along the natural hair growth direction to prevent overcutting.
- While blending, avoid applying too much tension.
- While cutting the top, take reference from the crown's hair direction, ensuring alignment and balance.
- Ensure the hair remains damp throughout the process for optimal cutting.
Conclusion
Here's the thing:
You will find that the scissors-over-comb technique requires a lot of patience and practice.
But with the right tools, expert guidance, and a desire to refine your skills, you can create magic.
Have something to add or questions to ask?
Please share them in the comment section below. Let's keep the conversation going!
More from Sunny Kambo

How Often Should You Go to the Barber? Expert Advice & Tips

Ever wondered how often you should be visiting the barber? Well, you're not alone. It's a question that's crossed the…
Building Barber Clientele: A Comprehensive Guide for Success
In the challenging world of barbering, it's not just about mastering the latest trends and techniques. The real game…
Comments